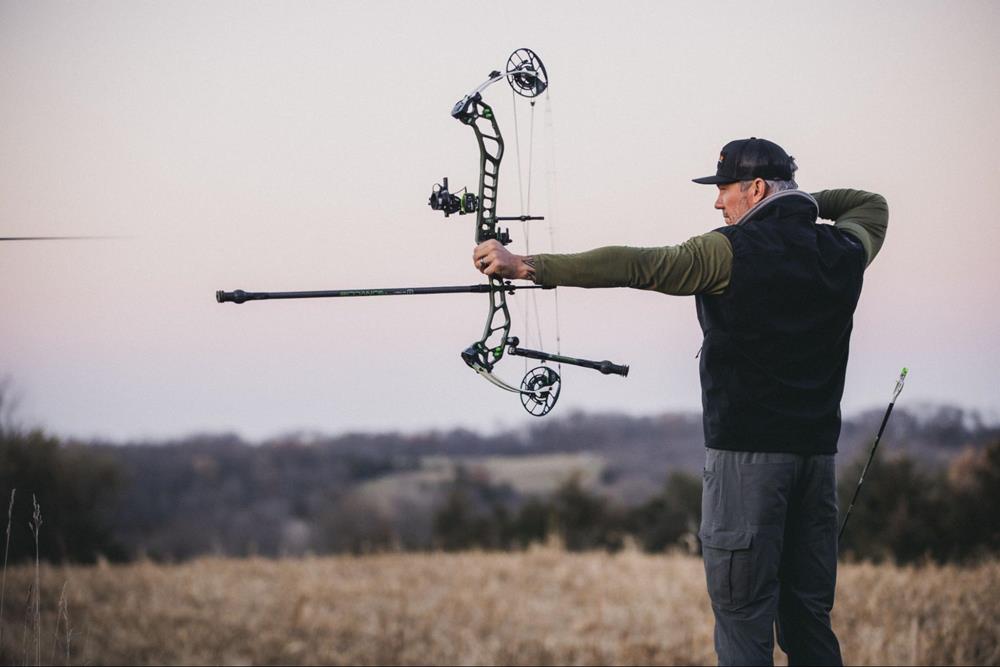
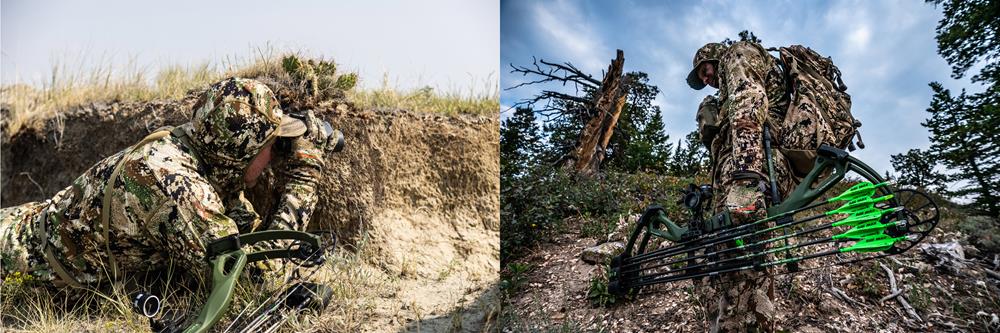
A full bowhunting season can be rough on a bowhunter. On the other hand, as much as I know I get beat up during the season, my gear takes an even harder beating. The dust, dirt and moisture you encounter in the field can create major abrasion and corrosion on a bow and accessories. It can ruin your investment in gear, but more importantly, it can be an absolute killer on accuracy. Before you tackle another bowhunting season, you need to get your bow CLEANED, LUBED and LOCKED DOWN! The steps to accomplish this are simple and they are a must!
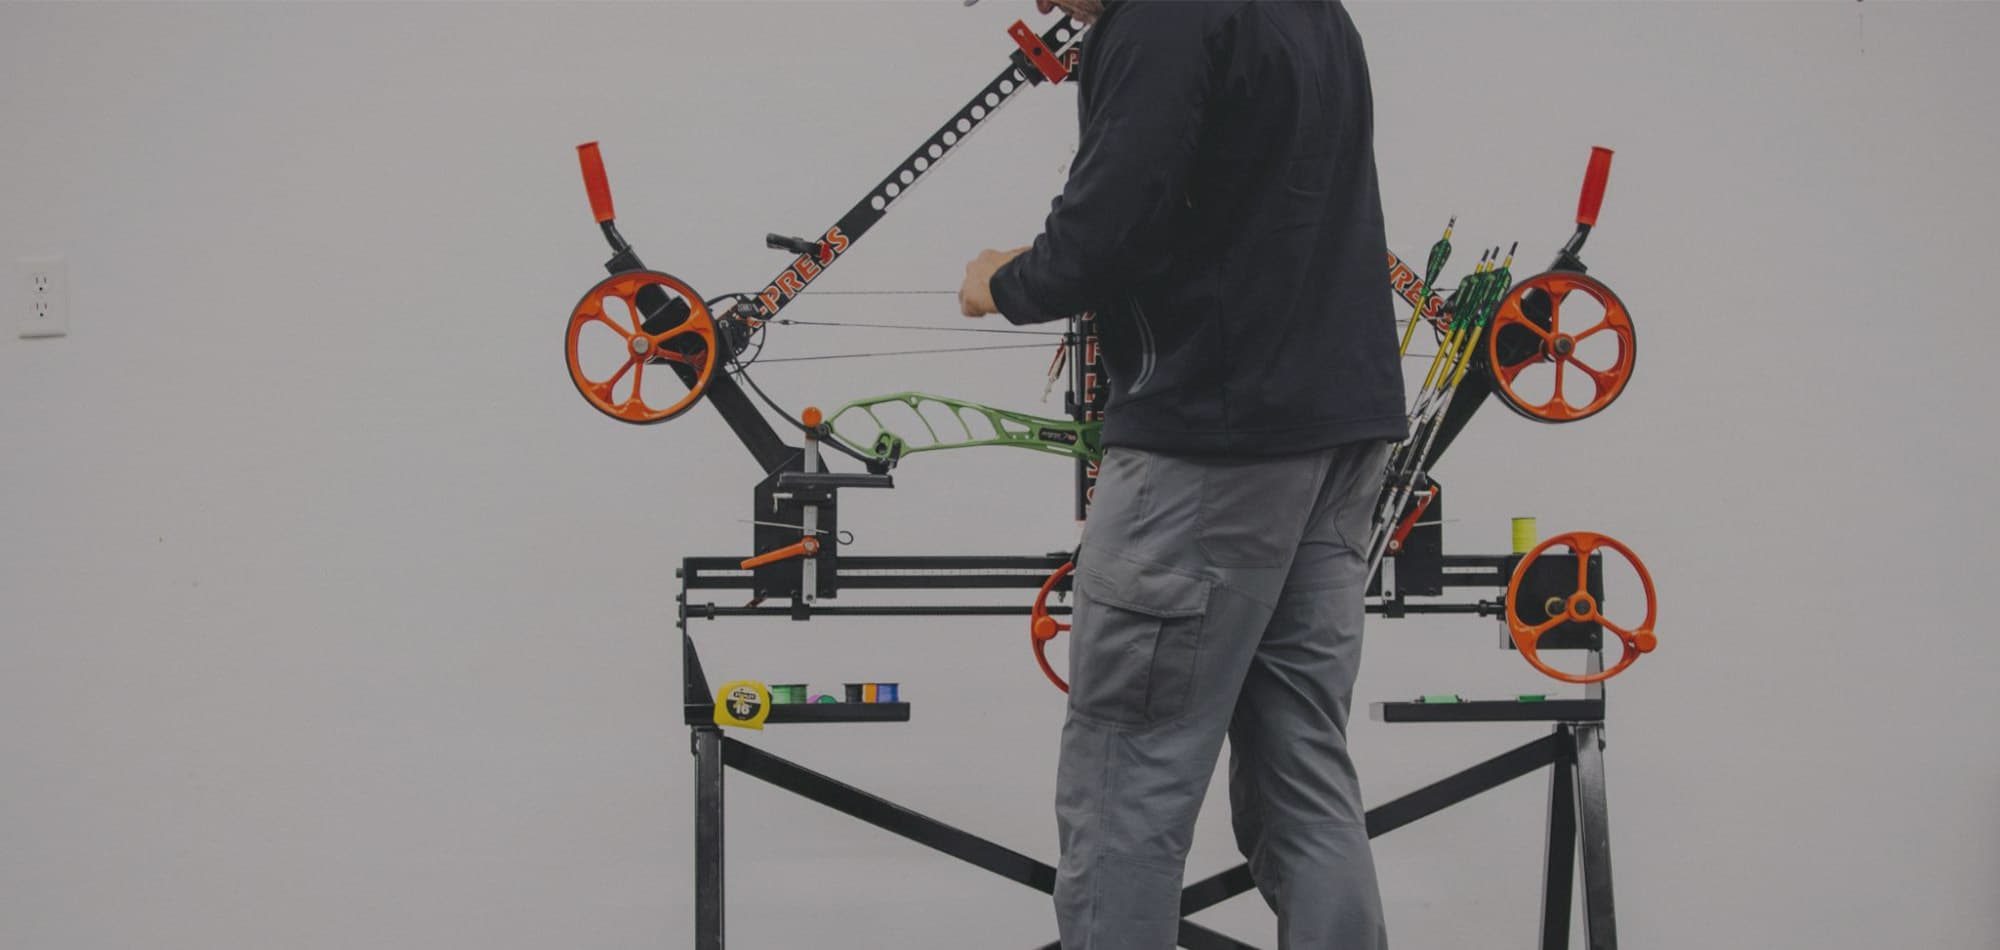
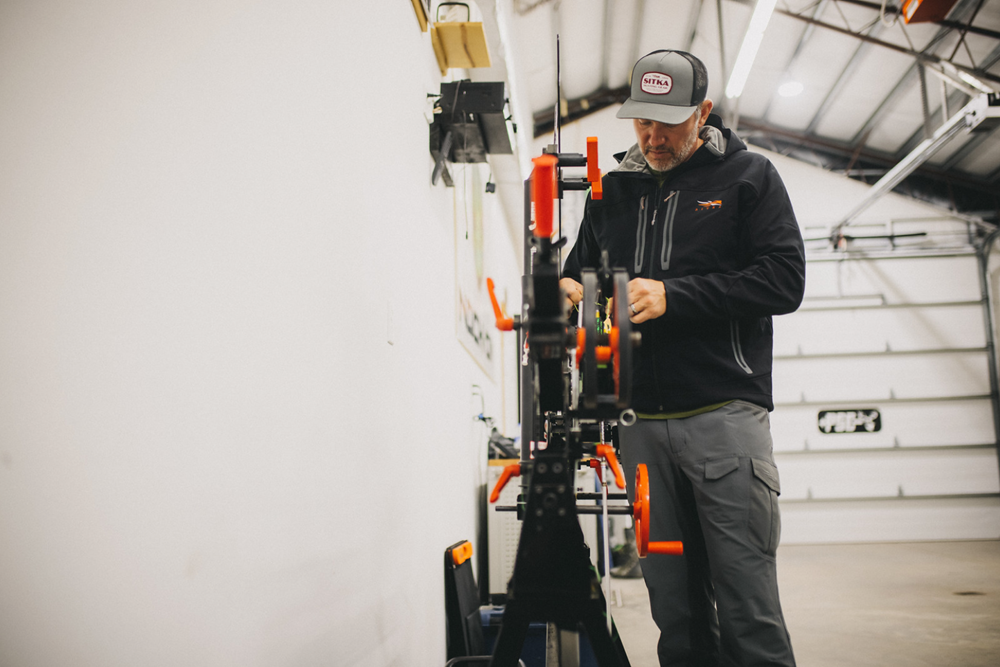
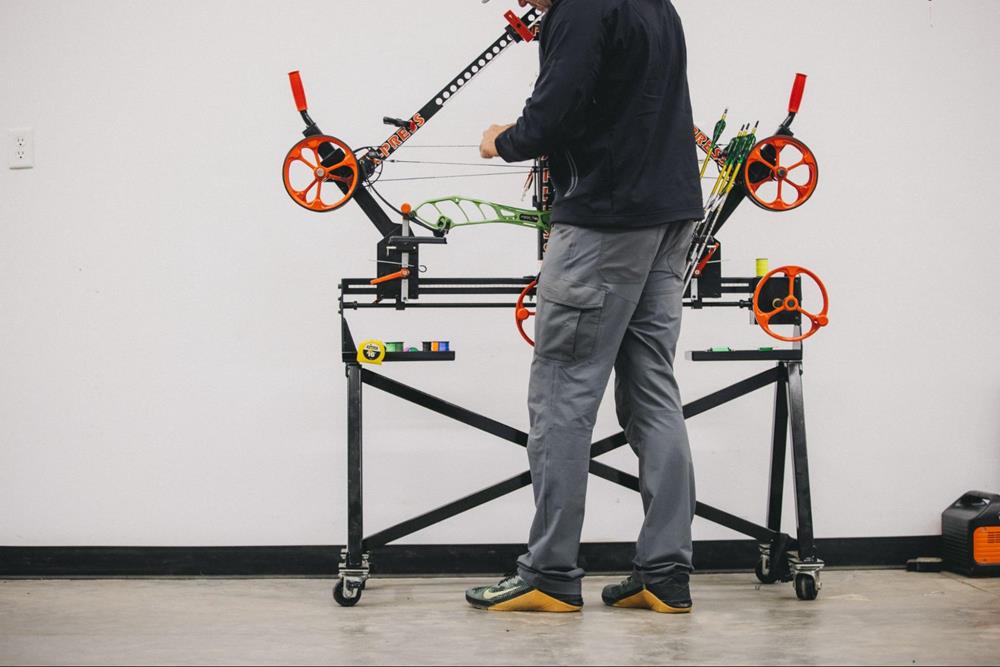
The first thing I do is give my bow a really good cleaning. Keep in mind that many lubricants actually attract and attach dirt and grit which only accelerates wear and tear. So, don’t assume that you just need to “grease the wheels” so to speak. You need to clean them and then lube them with the appropriate type of lube. It may seem simple, but my main cleaning tools are a high-pressure air nozzle, cleaning wipes and Q tips. This will give you what you need to give your rig a good once-over before digging deeper into the inspection and maintenance process. Start by giving everything a good blast of air from top to bottom. Then, take your wipes and wipe down as much as you possibly can starting from the top cam and working your way to the bottom cam while using Q-tips to clean the tight spots. The next critical step is to get your bow in a bow press where you can take tension off the strings and cables so you can thoroughly clean the string tracks. Usually, the bottom cam is the dirtiest since it rests in the mud and crud every time you set it down. The Q-tips work especially well for getting the cams cleaned out. At this point, you are in a good position to check the cam bearings and do your best to clean around them. If you have the string and cables totally off the cams, go ahead and give them a spin to see if they spin easily or if they stick or have any restriction in the way they spin. If you do find the cams to be restricted in any way, there’s a good chance you have corrosion on the axles or bearings. That would need to be addressed by a trained bow mechanic and it is something that needs to be checked, identified and repaired. If you let your bow sit wet for days on end, it’s possible that you will need to replace your axles. If your axles and cams are free of corrosion, but they are not spinning freely, you should try applying a small amount of a dry lube on the axles and where the bearing contacts the cam spacers. After this step of wiping down your bow and checking the axles and bearings of the cams, I like to give the bow one more pass over with high-pressure air to blow off any small remaining debris and to dry it out from any moisture from the wipes.
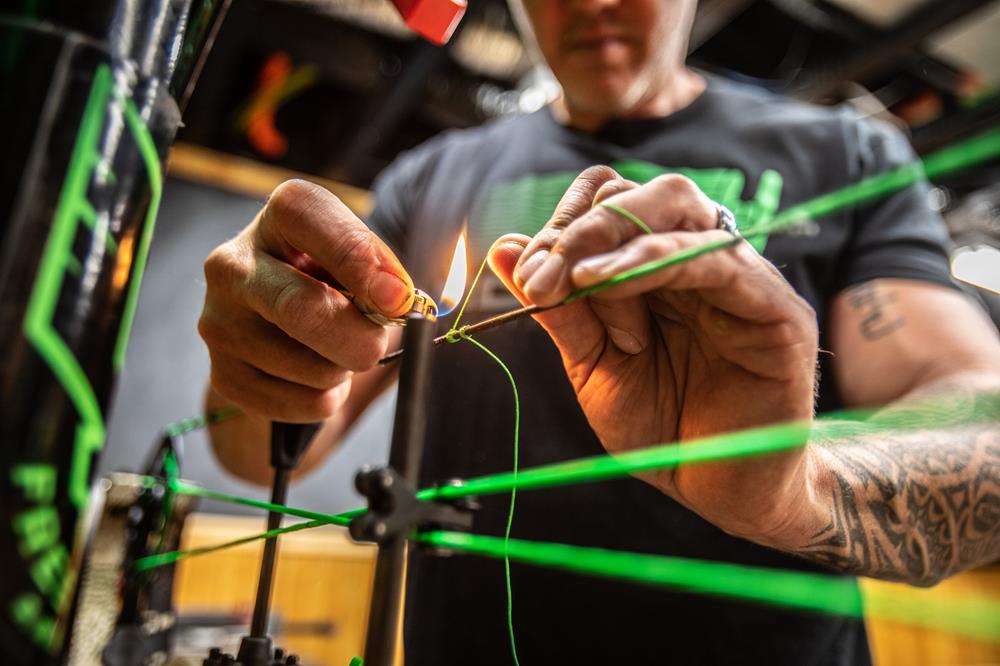
After the bow has been cleaned, I then focus on the strings and cables and make a decision whether or not they need to be replaced or if they are still holding integrity where simple maintenance is sufficient. A broken-in string is actually a good thing because it has settled and most likely won’t change much in length. The biggest decision to consider is whether you have loose strands or visible strands that are damaged, sliced or on the verge of breaking. If you answer yes to any of these scenarios, you need to replace your string. There’s no way around it, strings are a worn item and will eventually need to be replaced. Remember, it is the one item that literally holds everything together and it must be in tip-top shape. Some hardcore bowhunters restring their bow every year just knowing that they’ve drug it through the mud and put it through the torture chamber. I won’t go into a lot of detail about how to replace strings in this article, but what I will say is that you should never cut corners when it comes to strings and cables. Get the best your shop offers and ones that are proven. Once you’ve checked over your string strands, you then need to inspect the string and cable servings, D-loop and nocking points. If you see loose serving or areas where the serving has gaps, you will need to get the serving replaced. This is very common and a loose or worn serving doesn’t mean you automatically need a new string. The point of the serving is to take the wear and tear instead of the string itself. I have put together some videos on the Nock On Archery website and YouTube on how to re-serve a bowstring. If you are not in a position to do the work yourself, be sure to take it to a bow mechanic who can. For me personally, servings, D-loops and nocking points are almost always a guaranteed refresh for me at the beginning of each new season.
How well your string holds up will depend on how much you protect it throughout the year and if you are applying the proper lube at the proper time. Keep in mind that a tin of string lube or the Sitka Bow Sling will pay for themselves with the cost of just one string replacement. If your strings are intact but are looking a little on the dry side, that is normal and all they need is a proper lube treatment. At nockonarchery.com we offer a proprietary custom polymeric bowstring wax that is the best I have ever used. It is scent-free, cleans and increases the life of the string while also applying a waterproofing coat. Whenever you start to see the string drying out, simply apply a light coating of the wax and use a soft piece of leather to work the wax into the string. Squeeze your fingers on the leather and work it back and forth quickly on the string letting it heat up with friction and sink deep into the string fibers. Then, wipe off any excess with the other side of the leather. Remember, a little bit goes a long way. Once you’ve done this, you are set for string lubrication and they will look like new. This is a standard protocol to start off each season for me. And, whenever I encounter foul weather, I always check my strings to see how they are holding up.
After the bow is cleaned and lubed, I then go back through the bow top to bottom and check all of the screws to make sure they are tightened down. It's not uncommon for small screws to come loose during the hunting season. Rides in bow cases, truck beds, ATV racks, backpacks or horseback will undoubtedly wiggle something loose. It’s your job to button down the hatches! Start with the cams and make sure modules and cam stops are tight. Inspect the sight and be sure it’s secure and nothing has wiggle room or rattles. A high-end sight does allow you to tighten it down to prevent rattles. Be sure to thump on the side of your bow to listen if something is loose or buzzing. The arrow rest can be a bit tricky to get to all the small screws but you should still try to do so. Also, consider the replacement of the arrow launcher and/or moleskin/silencing tape on the rest. Mine normally needs a fresh start so I choose to replace the launcher but I usually hold off on applying new silencing material until closer to opening day simply because I will wear through it again while practicing over the months leading up to bow season. I still suggest removing the old silencing material as part of your bow cleaning process and applying the new as you see fit. Depending on your arrow rest type you may need to inspect the cord that activates the rest. Some drop-away rest cords lead to the cables while others lead to the limb. Be sure to check them by inspecting for any cuts or damage. Like the string, this is a wearable item and will eventually need to be replaced. At this stage, your bow is cleaned, lubed and locked down ready to tackle a new season.
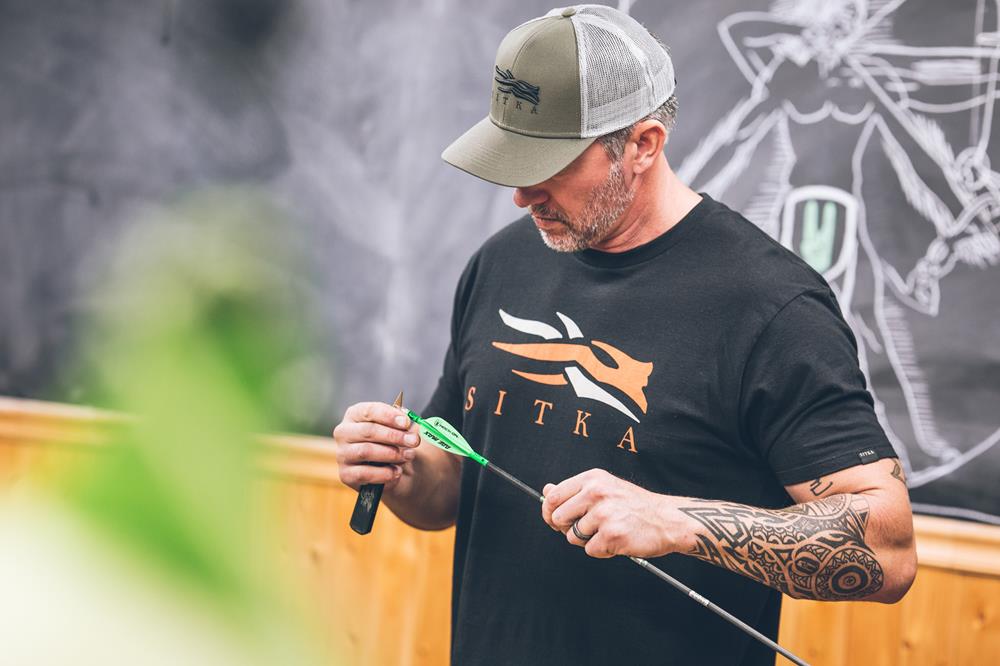
Arrows are always on my list of repair items, and truthfully, it’s a great thing to do during cold winter months. For me personally, there’s a Zen that comes from building and fletching arrows. As I write this, I know I have an arrow case with several bloody and muddy arrows waiting for a good wash, and more than likely, fresh wings. For arrows, I clean them in the bathtub where I can soak them for about 10. Then, I’ll take a soft cloth and wipe them down and clean between the vanes. Be delicate when cleaning them because ideally you won’t have to re-fletch them unless a vane is loose or torn. After a quick second rinse, I dry them off and then check them from tip to tail inspecting for damage of any kind. Next, spin them on your finger or on an arrow checker for straightness. If you find a wobble, you need to determine if it’s the arrow or the tip that’s bent. If it’s a bad tip, replace it. If it’s the arrow then it’s probably seen its day. NEVER risk shooting an arrow that’s been compromised at all. It’s not worth it! If the arrow is good, one extra step I take each year is replacing nocks on arrows that I know I’ve shot a lot. For example, my practice arrows get beat up all year. The ones in my quiver normally get a pass since they are my go-to and I keep them fresh, but any nocks that have had some use in the past get replaced.
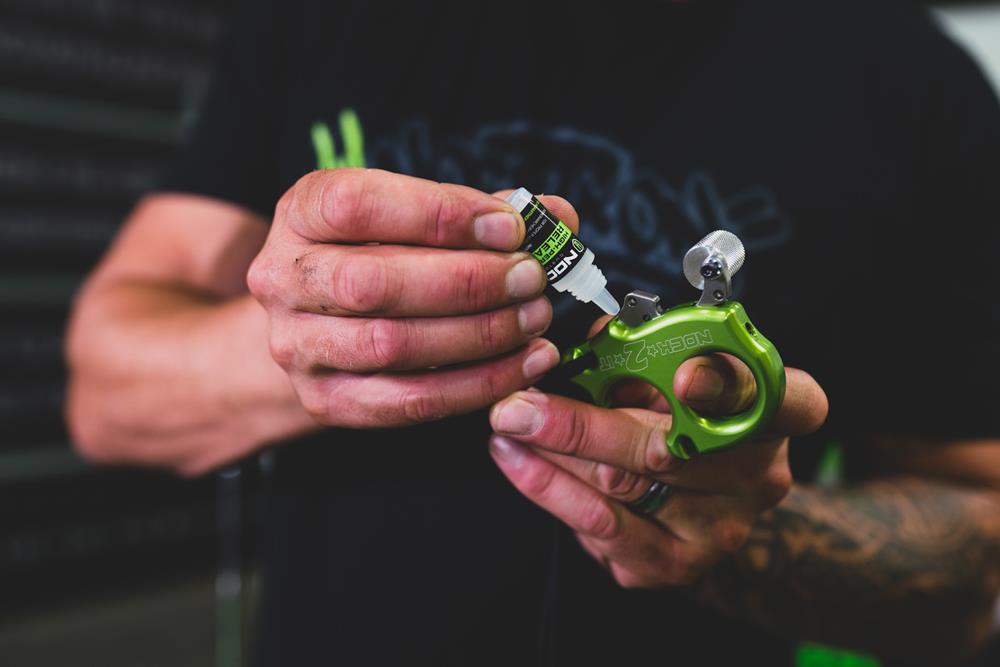
Last but not least is your release. Your release is the first thing that determines the path of your arrow and it’s at the highest level of importance. It's also what follows our hands through crawling on the ground and in collecting our sweat and hand oil. Your release aid gets a lot of use and it's actually a piece of gear that I do routine maintenance on more so than any other piece of gear that I have. I clean mine multiple times a year, but the new year is a great place to start. Release maintenance is easy, just like cleaning a bow. The simple steps are AIR, LUBE, AIR. Start with high-pressure air that you can blow into all moving parts or open cracks of the release and dislodge grime that can cause misfires. Then, a drop of the correct type of lube is all you need to prevent parts from corroding and allowing it to function crisply and accurately. An additional maintenance item I worked hard to perfect is The Nock On High-Performance Release Lubricant. It’s a proprietary formula that not only increases performance, it also prevents grit from sticking to parts allowing parts to glide and function as they were designed to. Simply force air inside the release, give it one drop of the Nock On High-Performance Release Lube and then repeat the forced air one more time to flush it clean leaving all of the internal components lubed and functioning crisp and smooth.
It’s an awesome feeling breaking your bow back out for a new year in the wild. If you’re like me though, you were probably a little burned out at the end of the last season and put your bow away to get a little R&R with the family and to make sure you are still in good shape with the boss at work. When you’re ready, don’t forget to give your bow some TLC getting it all dialed in for a new season. Following these simple steps will get you ready to capitalize on what 2022 brings for tags. Good Luck!